Getting Started with mBot 2.0
A STEM-Inspired Programmable Robot Designed for young, hands-on Programmers!
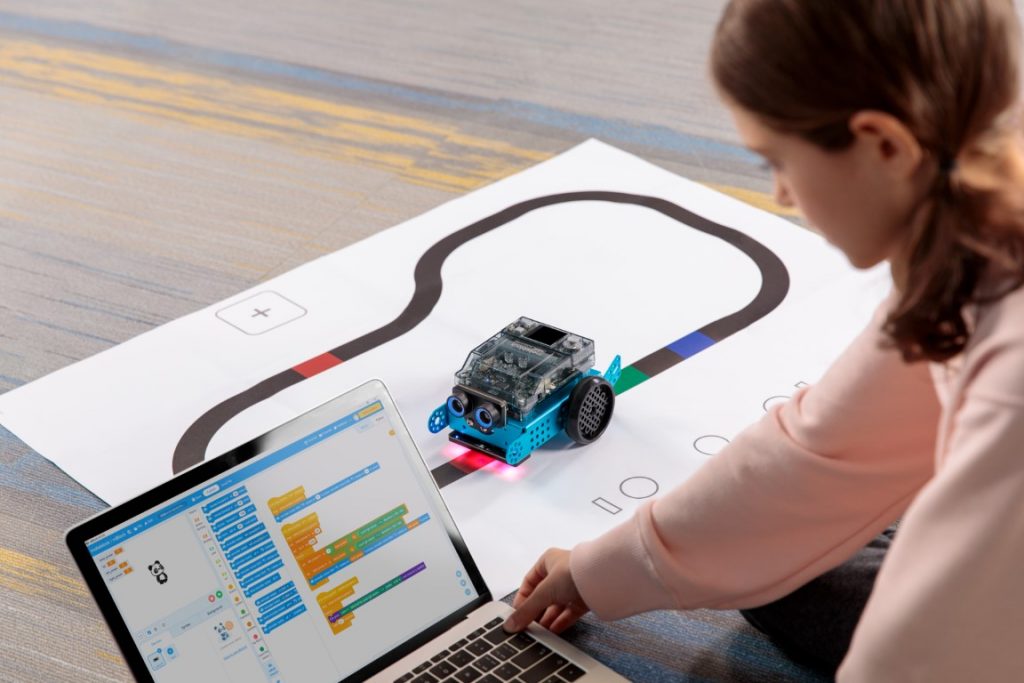
1. Assemble mBot 2.0 using the Quick Start Guide
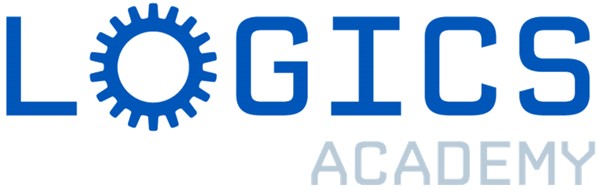
2. Download Software
mBot 2.0 supports block-based graphical programming and Python programming.
- For block-based programming, the mBlock app is a one-stop coding platform tailored to coding education, trusted by educators and learners alike. There are 3 ways to access the mBlock app:
Phones and Tablets


Computer version
Web Version (Chrome Browser recommended)
* You’ll need to download the mBlock driver “mLink” to access the Web version, download here:
- For Python or MicroPython programming, the mBlock-Python Editor is a Python editor oriented to beginners, applicable to various Python courses, such as Software & Hardware Programming, Artificial Intelligence (AI), and Data Science. You can access it here:
Web Version (Chrome Browser recommended)

* You’ll need to download the mBlock driver “mLink” to access the Web version, download here:
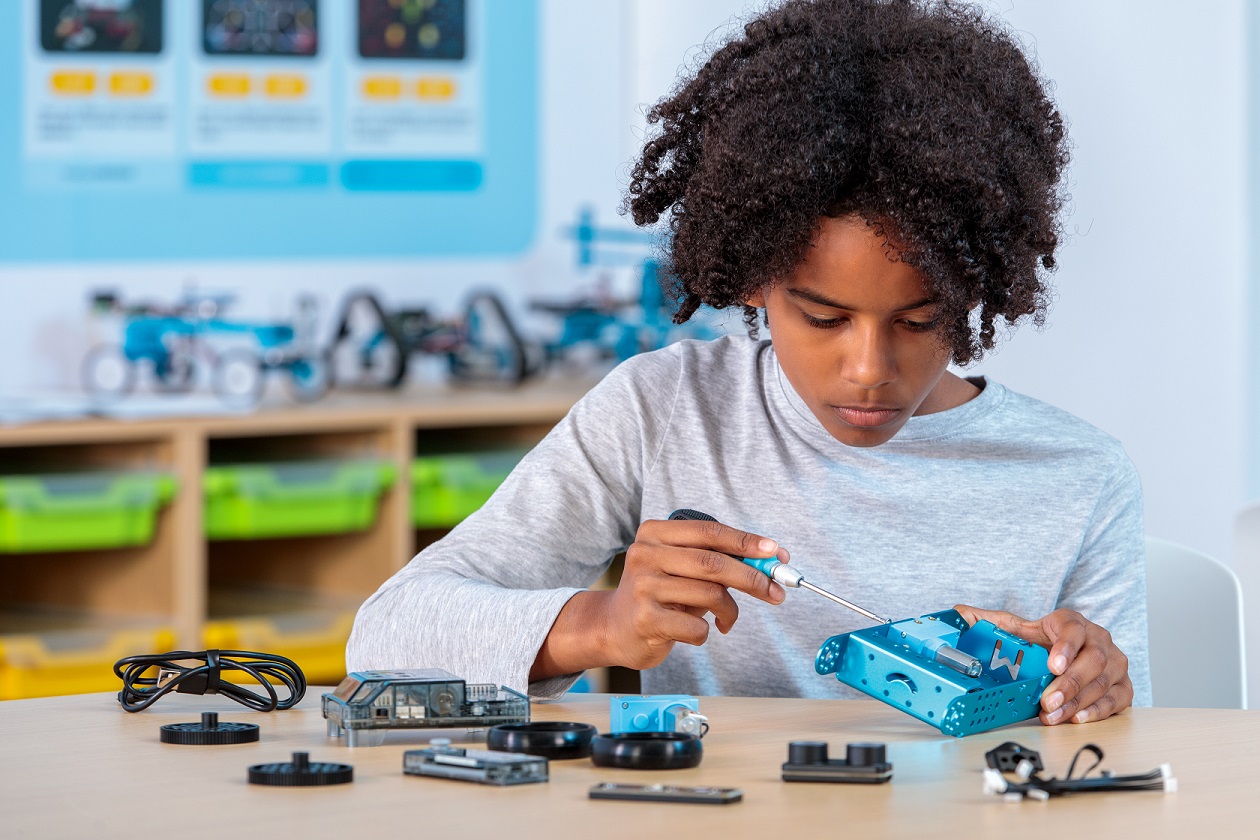
3. If you are an Educator looking to introduce mBot 2.0 in the Classroom, see the resources on CyberPi below:
For Educators
Use mBot 2.0 in the Classroom
The highly anticipated CyberPi is here! Lessons and curriculum built with Canadian educators in mind, are now ready and aligned to various cross-curricular subject areas across all provinces and territories. This includes Math, Science, Technology, Language Arts, and more! Our block-based beginner and advanced lessons help students in Grades 6-8 gain confidence in coding as they slowly transition to more complex coding languages. Our text-based beginner and advanced lessons help students in Grades 9-12 apply their learning in the Python language with CyberPi and take their coding skills to the next level.
A single-board computer, packed with advanced electronics helps teach students in Grades 6-12 while supporting the development of their coding skills from block-based programming to Python. During this training session, you will learn how to integrate the hardware and software that makes it a powerful tool to discover Data Science, Artificial Intelligence, Networks, and the Internet of Things in a learning environment.
4. Or look at these mBot 2.0 Getting Started Activities
The mBot2 Getting Started Activities are developed for students between 11 to 14 years old and their educators. Overall, the lessons are designed to be accessible, despite having different and increasing complexity levels.
Each lesson introduces a different and exciting feature from the mBot2, along with some basic concepts of programming. The knowledge gained from each lesson helps to build towards more advanced activities, while the lessons increase in complexity as the learner moves on. For example, the movements of the robot are introduced in Lesson 1 and this is used in many of the subsequent lessons. The possibilities of the Quad RGB sensor are presented in lesson 5, to be later used in lesson 8.
The lessons are briefly described below:
| Activity Name | Description | Key concepts |
|---|---|---|
| 1. Let’s move | Students discover the mBot2 and the mBlock software and learn how to drive the robot with precision. This knowledge will be used in most of the following lessons. Students will also design a simple maze and program the mBot2 to (manually) navigate through it. | Precise movements and corresponding coding blocks. |
| 2. Sensing = data | Students will work with the different sensors integrated into the mBot2; they will learn how to use them with their corresponding code blocks, and to visualize data from the sensors on the integrated full-color display. | Mode of operation of the sensors.Different approaches to display and visualize data on the display.Differences between Live and Upload mode in mBlock 5. |
| 3. Listen to mBot2 | Students will learn how to control the speaker and microphone with the code blocks in mBlock 5. They will also create a program where the mBot2 plays a recorded sound if it meets a certain condition while driving around. | Text to speech (TTS) and Voice recognition (Speech to Text, STT) using the built-in speaker and microphone. Running multiple tasks side by side. |
| 4. Seeing with sound | Students will learn what ultrasound is, how it is used in a sensor, and they will also create a program to make the mBot2 drive in a loop by turning after detecting obstacles on the road. | Detecting an obstacle or a range by using the ultrasonic sensor. Using loops and conditional statements for making the mBot2 drive while avoiding obstacles. |
| 5. Sightseeing | Students will learn how a color sensor works, how are they used in real life, and they will program the mBot2 to become a tour bus that visits different landmarks in a city. This knowledge will be also applied in lessons 7 and 8. | Mode of operation (physics of light) of the color sensor/line follower. Color and line identification- Making the mBot2 follow a line and having it perform actions based on color detection. |
| 6. Careful drive | Students will learn how to use the gyroscope accelerometer of the mBot2 and its code blocks, and they will program the mBot2 to adjust its driving behavior if it detects inclinations on the road. | Mode of operation of gyroscopes and accelerometers (as Inertial Measurement Units, IMU). Coding the mBot2 to adapt to road conditions based on IMU data. |
| 7. A network game | Students will learn to have multiple mBot2s communicating with each other wirelessly without the need for a WIFI access point. They will program a simple game where multiple mBot2s search for a color and the first one to find it wins. This knowledge will also be used in lesson 8. | Wireless data transfer in ad-hoc networks. Data exchange in loops and events. |
| 8. mBot2 at your service | By learning how to set up a WIFI connection with the mBot2, students will also learn to use onboard speech recognition, and they will apply this knowledge in an activity where the mBot2 becomes a robot waiter who talks to its customers. | Using WIFI infrastructure mode with the mBot2 for speech recognition and speech synthesis. Offloading heavy computing like speech recognition to cloud services. Structuring code by applying “own blocks” (functions). |
| 9. mBot2 in the wild | In this special lesson, students will learn some principles of Artificial Intelligence by using the Teachable Machine extension in mBlock5. They will apply their knowledge to recreate a natural ecosystem where the mBot2 behaves like an animal. | Learning about Machine Learning and applying it with local processing only on block-based programming. Establishing a new communication protocol between the mBot2 and the computer. |
Throughout the lessons students are encouraged, with the consent of educators, to document their learning outcomes by video and publish them, as a way to gain pride in their work and lead their conversation about Computer Science and STEAM in the classroom.